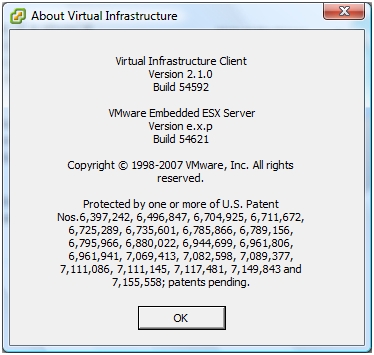
Well after the update I experienced my first purple screen of death. When I pressed the escape button I started an interactive session with the VMKDBG AKA the kernel debugger. I could see the logs and reboot the ESX 3i server. After another restart the server presented the new build number 54662.
Before...... After.......

Tuesday, September 25. 2007
ESX 3i New Build (54662) Available
ESX 3i Update Service Client
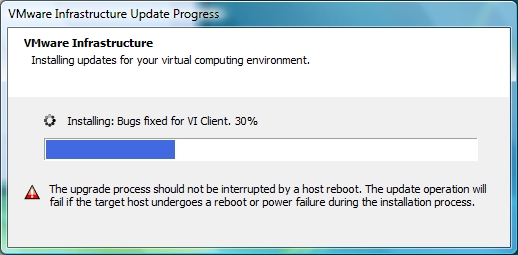
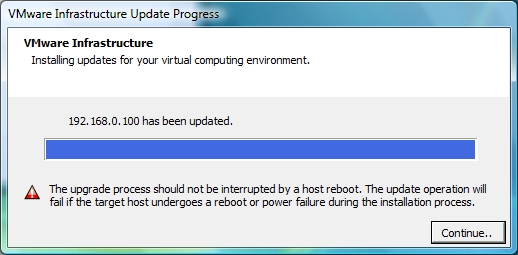
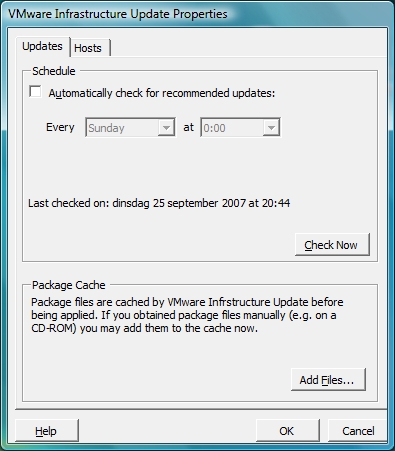
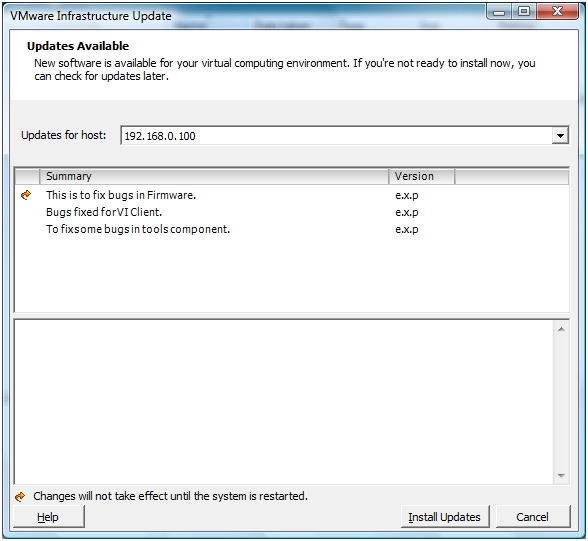
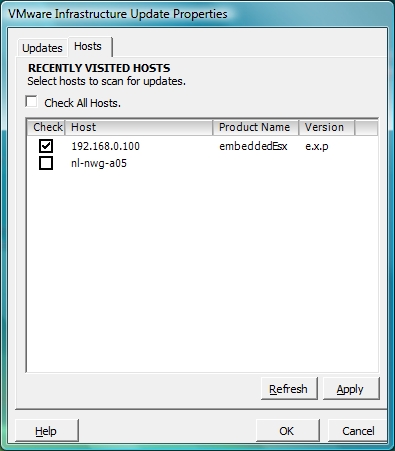
Just out of curiosity I double clicked the VMware Update Service icon and before I knew it, I was downloading and installing bug fixes into the Firmware of my ESX 3i Server. The VI Client and the tools component (whatever that may be) were also automatically updated. I took around 45 minutes and I had to restart my ESX 3i Server. I made some screenshots during the process. You can even schedule the Update Service.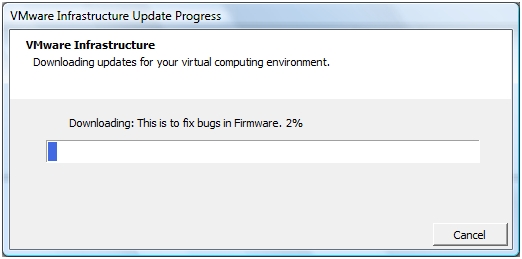

ESX3i training video
Sunday, September 23. 2007
Booting VMware 3i from Hard Drive
Scott Surovich created a 3i boot from disk how to. This document covers how to get the 3i USB memory stick image to a hard drive and it boots from the HD. It still needs the memory stick for ONE check the boot does for the USB Boot partition - but the rest is all HD loaded. This allows servers that DO NOT boot from USB devices to use the 3i Beta. He hopes to get that check pulled so you can boot 100% from a HD.

Thursday, September 20. 2007
ESX 3i Shell Commands
ESX 3i Browsing the MOB
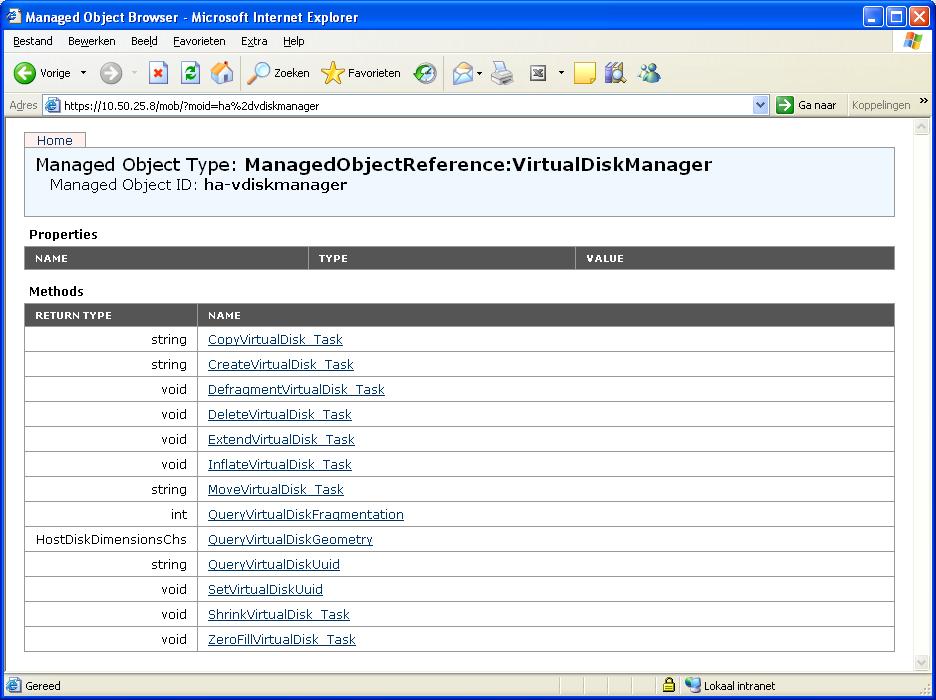
When you are going to create you own software and want to connect to the VCserver the MOB is your friend. With the Managed Object Browser (https://server/mob) you have the opportunity to browse trough every object you can address from within the SDK. Since I’m involved in building software (Virtual Machine MKS Client), I was wondering if there are any new objects in the ESX 3i MOB, and there are. I found a lot of new references, but there where two of them who triggered my attention; the FileManager and the VirtualDiskManager. Those two I haven’t noticed before and they seem to deal with files and disks.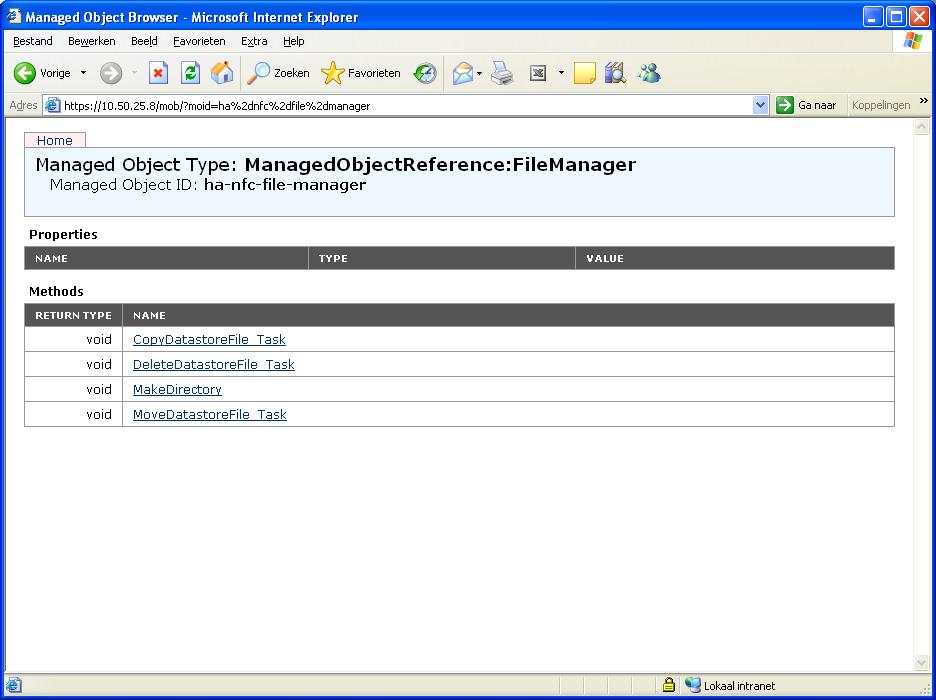
Wednesday, September 19. 2007
ESX 3i running on a Dell PowerEdge 1950
 Viktor van den Berg (the professional photographer) created a nice ESX 3i presentation. It’s in Dutch but if you are not familiar with this language, you should still take a look at the really nice screenshot’s. Viktor posted the article on the Dutch Vmug.
ESX 3i Interactive Shell
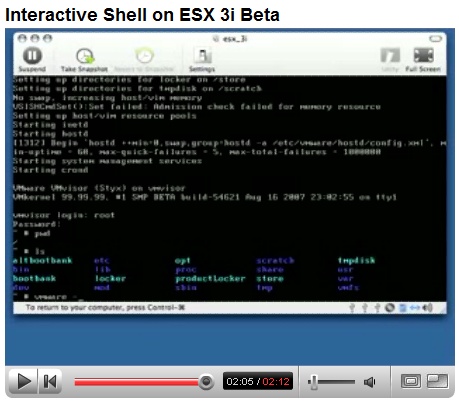 Thomas Bishop AKA Tommy over at "Scale The Mind" created two real cool YouTube videos. On the first one he shows ESX 3i running within VMware Fusion. The second one shows the ESX 3i interactive shell. Thomas and I are running parallel with the discovery of new ESX 3i features, we both found out how to run ESX 3i in a virtual machine and we also discovered some of the additional commands you could use during the bootstrap. Thomas about the interactive shell : "The fact that it is possible to easily get an interactive shell with ESX 3i is going to prove to be a valuable resource in learning about the internals of it. It looks like it is heavily dependent on a number of open source packages (no surprise there)". J Hicks joked about all the ESX 3i information and stated that we have ESX 3i running on an iPhone in no time. ;-)
ESX 3i Boot Options
ESX 3i running in a VM
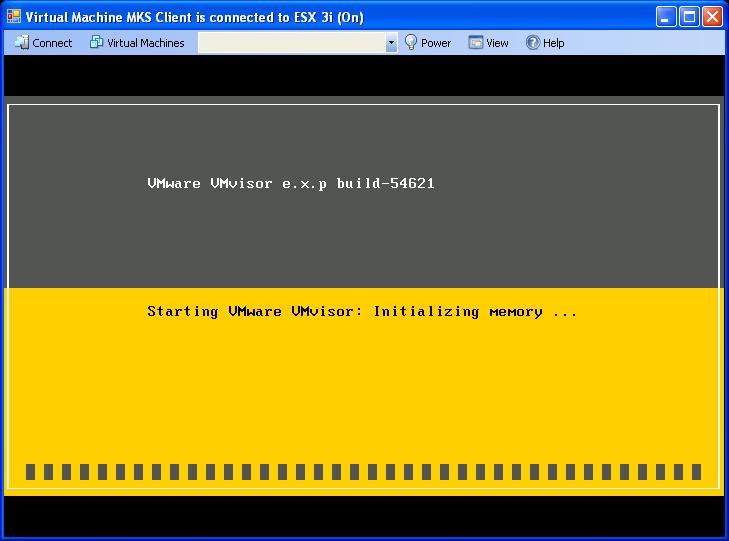 Since my memory stick is broken I had to find out how I could carry on with exploring the new futures of ESX 3i. I was lucky; one of my fellow VMware trainers was willing enough to provide me with an image of his USB stick. What I did is use an existing virtual machine and added a one gigabyte hard disk. I downloaded Selfimage and placed the ESX 3i image on the new disk. I disconnected the disk and created a new virtual machine. I have chosen for “other Linux�? with one gigabyte memory and two network adapters and connected the ready made “one gigabyte disk�? as an existing disk. The last step was powering on the new VM. You see the result in the screen dump.
 (Page 21 of 22, totaling 214 entries)

