I’m still discovering the amazing capabilities of my Raspberry Pico W while waiting for the shipment of my future ESXi on a Raspberry Pi 5. The Pico W has a Wi-Fi adapter, which can be used to host a webpage. It also has an onboard led, which can be switched on and off. It would be great if I could toggle the led via a webpage. Think about the possibilities, like garage door openers or anything you want to control remotely.
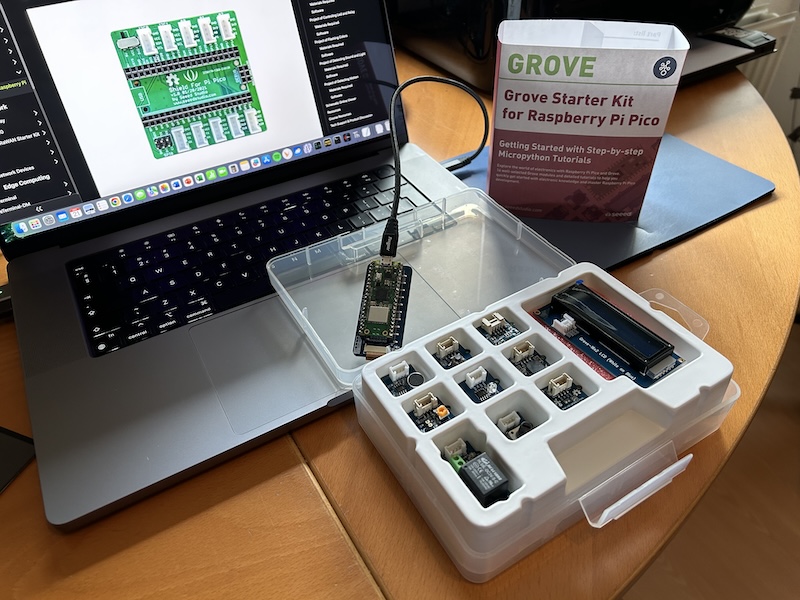
When I wrote my earlier article about controlling the Elgato Key Light Air, I’ve spent some reasonable time on coding. My Python skills are still very minimal, and I’m following an online training course to get up to speed. But, in the meantime, who’s going to write my code? Maybe ChatGPT can do the trick. The last time I used it was during the “VMware {code} Lab: Learning to Code Using ChatGPT API Interface” workshop hosted by Eric Nielsen at the VMware Explore in Las Vegas. This workshop was a great introduction to the possibilities of ChatGPT. So, my question to ChatGPT was simple:
Are you familiar with the Raspberry Pi Pico?
And ChatGPT answered:
Yes, I'm familiar with the Raspberry Pi Pico. It's a microcontroller board developed by the Raspberry Pi Foundation. Unlike the traditional Raspberry Pi boards, which are single-board computers, the Raspberry Pi Pico is a microcontroller board based on the RP2040 chip, designed for embedded and low-level programming tasks.
The Pico is quite popular for its affordability, ease of use, and versatility, making it suitable for a wide range of projects, including embedded systems, IoT (Internet of Things) devices, and various DIY electronics projects. It's notable for its RP2040 chip, which features dual ARM Cortex-M0+ cores and provides a variety of I/O options, making it a flexible choice for programming and hardware interfacing.
The next question was, Are you familiar with MicroPython?
And ChatGPT answered:
Absolutely! MicroPython is a software implementation of the Python programming language optimized to run on microcontrollers and embedded systems. It's designed to be lean and efficient while providing a Python 3 programming environment for microcontroller boards.
MicroPython offers a subset of the Python language, adapted to the constraints and capabilities of microcontrollers. It allows developers to write Python code that can directly interact with hardware, making it popular for IoT, robotics, and embedded systems projects. Its simplicity and ease of use, along with its rich library support, make it a preferred choice for those familiar with Python programming who want to work with microcontrollers.
The Raspberry Pi Pico, for instance, can be programmed using MicroPython among other programming languages, offering an accessible and beginner-friendly approach for handling hardware tasks.
Great, let’s see if I can formulate a good question that can be used by ChatGPT to write the correct code for hosting a web server that toggles the led. So, the question is: Can you write a Micropython program for Raspberry Pi Pico W, which hosts a web server and offers a page that switches on and off the onboard led?
The answer was stunning:
To create a MicroPython program for the Raspberry Pi Pico, which hosts a web server and allows you to toggle the onboard LED via a webpage, you'll need to use the Pico's networking capabilities and the MicroPython's ure and network modules. Here is an example code that achieves this functionality:
Here are the steps to use this code:
- Replace 'YOUR_WIFI_SSID' and 'YOUR_WIFI_PASSWORD' with your actual Wi-Fi network's SSID and password.
- Load this code onto your Raspberry Pi Pico running MicroPython. You can use Thonny or any other MicroPython editor.
- After running the code, the Pico will create a web server. Access the Pico's IP address in a web browser on a device connected to the same network. The web page allows you to toggle the onboard LED on and off.
import network
import machine
import usocket as socket

led_pin = machine.Pin(25, machine.Pin.OUT)
html = """<!DOCTYPE html>
<html>
<head> <title>Raspberry Pi Pico LED Control</title> </head>
<body>
LED Control:
<form method="get" action="toggle">
<button type="submit">Toggle LED</button>
</form>
</body>
</html>
"""

# Set up WiFi connection
wlan = network.WLAN(network.STA_IF)
wlan.active(True)  # Activate the wireless interface
wlan.connect('YOUR_WIFI_SSID', 'YOUR_WIFI_PASSWORD')  # Replace with your SSID and password

# Initialize socket
s = socket.socket(socket.AF_INET, socket.SOCK_STREAM)
s.bind(('', 80))
s.listen(5)

while True:
    conn, addr = s.accept()
    print("Got a connection from %s" % str(addr))
    request = conn.recv(1024)
    request = str(request)
    print("Content = %s" % request)
    led_on = request.find('/toggle')
    if led_on == 6:
        led_pin.value(not led_pin.value())  # Toggle LED

    response = html
    conn.send('HTTP/1.1 200 OK\n')
    conn.send('Content-Type: text/html\n')
    conn.send('Connection: close\n\n')
    conn.sendall(response)
    conn.close()
Note: This code sets up a basic web server with minimal error handling. In a production environment, you might want to add error handling and security measures to make the system more robust and secure.
After adding a few extra lines of code to receive the IP address, I’ve copied and pasted the code in Thonny and hit the run button…
while wlan.isconnected() == False:
        print('Waiting for connection...')
        sleep(1)
print(wlan.ifconfig())
I must admit I was expecting an error code, but I got the IP address and visited the webpage. After clicking the button, no Toggling LED.
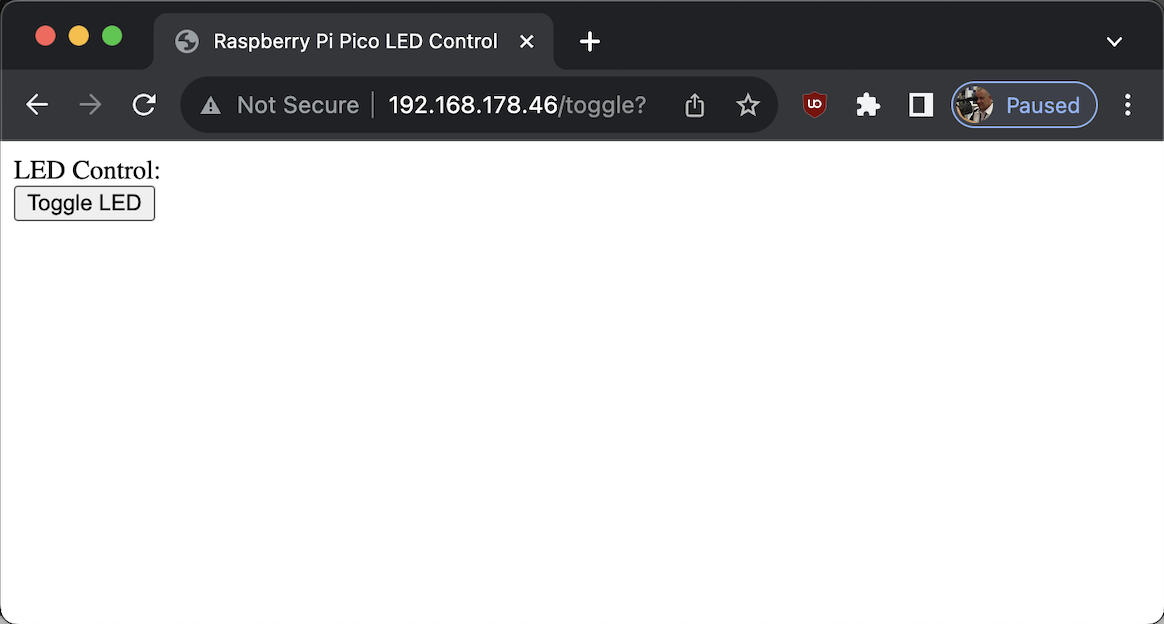 Thonny's Shell:
Got a connection from ('192.168.178.122', 52756)
Content = b'GET /favicon.ico HTTP/1.1\r\nHost: 192.168.178.46\r\nConnection: keep-alive\r\nUser-Agent: Mozilla/5.0 (Macintosh; Intel Mac OS X 10_15_7) AppleWebKit/537.36 (KHTML, like Gecko) Chrome/119.0.0.0 Safari/537.36\r\nAccept: image/avif,image/webp,image/apng,image/svg+xml,image/*,*/*;q=0.8\r\nReferer: http://192.168.178.46/toggle?\r\nAccept-Encoding: gzip, deflate\r\nAccept-Language: en-US,en;q=0.9,nl;q=0.8\r\n\r\n'
I discovered ChatGPT was using the led address of a Pico. The led address of the Pico W model is different.
led_pin = machine.Pin("LED", machine.Pin.OUT)
Instead of:
led_pin = machine.Pin(25, machine.Pin.OUT)
So, I changed the address and gave it another try. Amazingly, it worked! I’ve used SimpleMind to structure and create this article.
 All the resources are available in this mind map: Raspberry_Pi_Pico_LED_Control.smmx. This is the link to the original ChatGPT discussion. The following link leads to the working MicroPython code on GitHub.
Comments on X please.
